Let’s dive into the world of blotchy and patchy paint coverage! Did you know that according to a recent survey, 68% of DIY painters reported struggling with uneven paint coverage? Yep, you’re not alone in this battle!
I remember the first time I tried to paint my living room. Oh boy, what a disaster that was! I picked this gorgeous deep teal color, thinking I’d transform my space into a cozy oasis. Little did I know I was in for a rollercoaster ride of paint mishaps!

Understanding paint coverage and opacity
Let’s talk about paint coverage and opacity. Man, I wish someone had explained this to me before I started! So, here’s the deal: paint opacity is like the superhero cape of the painting world. It’s all about how well the paint covers what’s underneath. I learned this the hard way when my beautiful teal turned into a patchy mess on my off-white walls.
Here’s a pro tip: check the paint can for the opacity rating. It’s usually on a scale from 1 to 5, with 5 being the most opaque. Trust me, for dark or vibrant colors, you want that 5! I now swear by high-opacity paints for tricky colors. They might cost a bit more, but they’ll save you time, paint, and a whole lot of frustration!
Importance of multiple thin coats vs. one thick coat
Now, let’s chat about the age-old debate: one thick coat vs. multiple thin coats. I used to be Team Thick Coat all the way. I mean, who’s got time for multiple coats, right? Wrong! My impatience left me with a wall that looked like a bad tie-dye experiment. So at Leggettandsonspainting, we believe in applying two coats to ensure a smoother coverage.
Here’s the truth, my friends: multiple thin coats are the way to go. I know, I know, it sounds like more work. But trust me, it’s worth it! Start with a thin, even coat. Let it dry completely – and I mean completely. Then go in for round two. You’ll be amazed at how much better the coverage is, and bonus: no weird texture issues! Remember if your in the Northeast Ohio area you can give us a call “We Paint So You Don’t Have To”.
Tips for achieving even color distribution


Now achieving even color distribution is what we strive for. I’ve got some tricks up my sleeve for this one. First off, always, ALWAYS mix your paint before you start. I once ended up with slightly different shades on each wall because I skipped this step. Talk about a facepalm moment!
Here’s a game-changer: if we’re doing a big job, we mix all our paint together in one big bucket. We call this “boxing” the paint. It ensures consistent color across the whole room. Genius, right?
Dealing with high-contrast color changes
Don’t forget about lighting! I once painted my bedroom, thinking it looked perfect. Then the sun came up the next day, and bam! Patchy city. We now always check our work in different lighting conditions before calling it done.
Now, let’s tackle the beast that is high-contrast color changes. You know, like going from dark to light or vice versa.


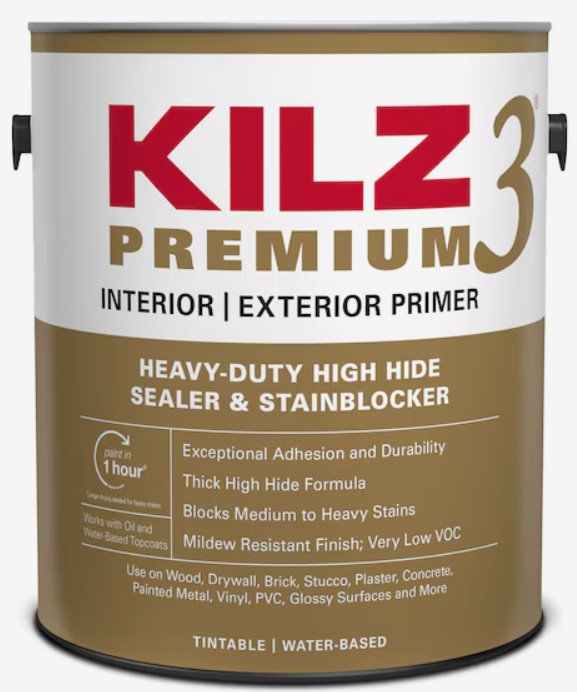
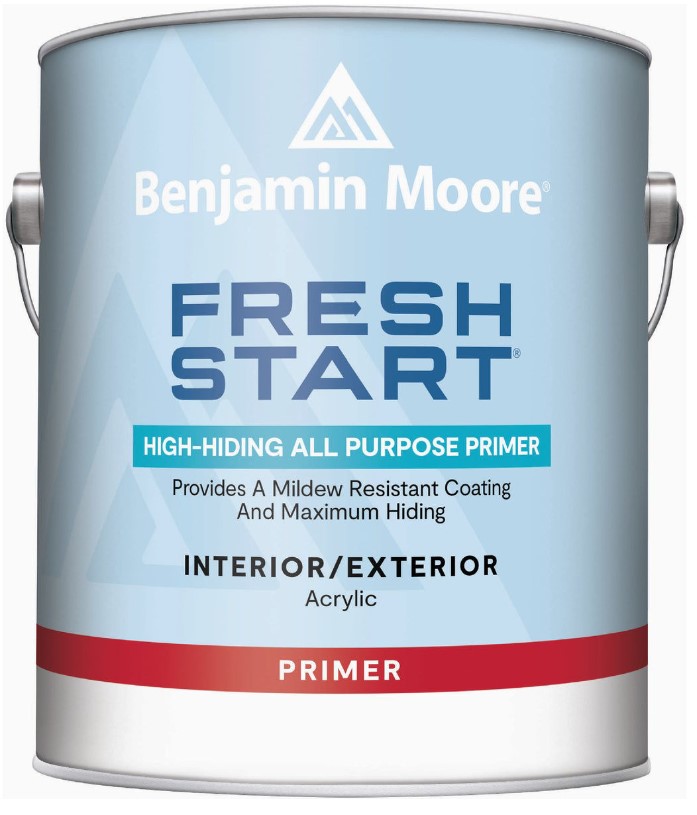
Here’s the secret: primer is your best friend. And not just any primer – you want a high-hiding primer. For really dramatic color changes, you might even want to tint your primer to match your new color. It’s like giving your walls a blank slate to work with.
And here’s a tip that blew my mind: for dark colors, use a gray primer instead of white. It helps the color look richer and more saturated. Who knew?
Conclusion
Banishing blotchy and patchy coverage is all about preparation and patience. Understanding paint opacity, embracing multiple thin coats, and mastering even color distribution are key. And when it comes to high-contrast color changes, don’t skimp on the primer!
Remember, folks, good paint jobs aren’t rushed. Take your time, do it right, and you’ll end up with walls that look like they were done by a pro. So, are you ready to kiss those blotchy walls goodbye? Grab your paintbrush, and let’s get to work!