October 21, 2022
Whether you’re painting an entire room or just one wall, these ideas will help you do it beautifully.
3. Buy Good Paintbrushes, Roller Covers, and Tape
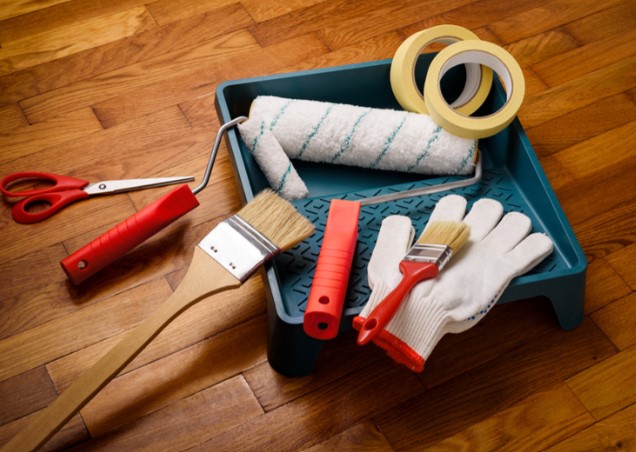
When investing in high-quality paint, you shouldn’t skimp on the job’s execution.
High-quality painter’s tape is the real deal when it comes to sealing out drips and blurs, and high-quality brushes and roller coverings deliver outstanding coverage so you don’t spend time and paint on re-application.
Try Sherwin Williams Blue Painters tape. https://www.sherwin-williams.com/homeowners/tools-supplies/tape-masking
1. Await a Weather Break
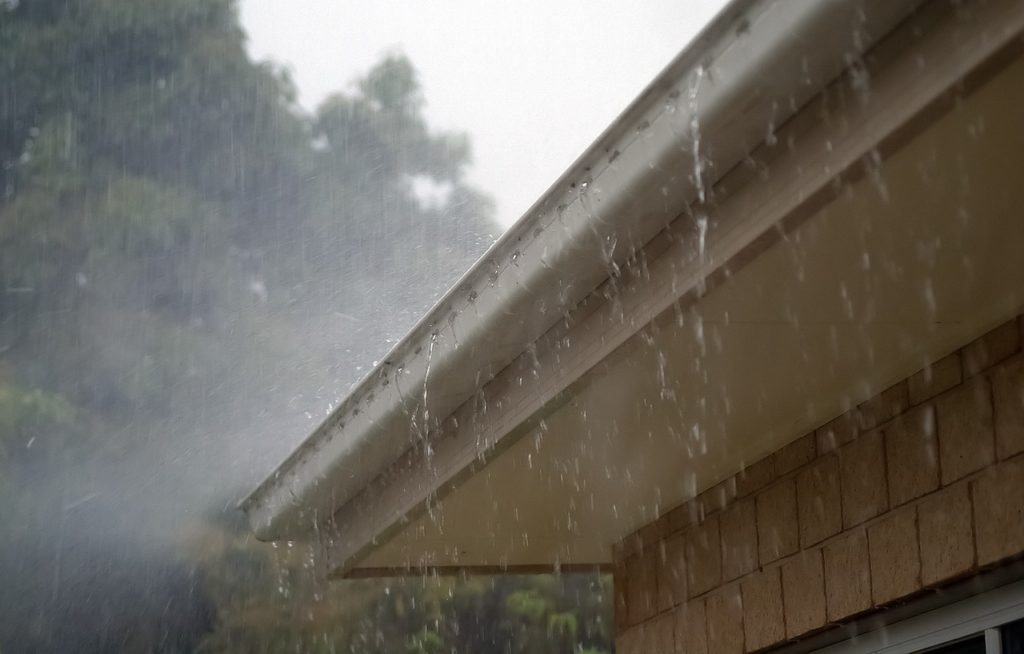
Avoid painting on a rainy day since the humidity will cause paint to drip and the surface to dry slowly.
2. Perform a Complete Visual Inspection and Setup prior to painting.
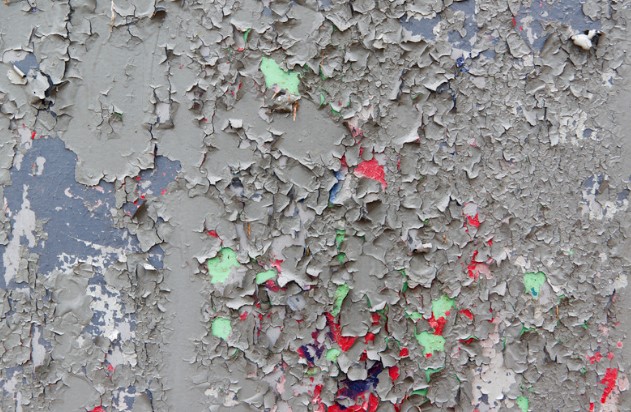
Because the weight of the fresh layer will pull the old paint loose, you should carefully sand or scrape any cracked, flaking, or peeling areas before applying new primer and paint.
You don’t want to wind up wasting time and money because you didn’t take these steps. Some soap and water washing could be required for particularly greasy areas. Otherwise, use a damp cloth to wipe down the surface so that the paint may adhere to a clean, dust-free area.
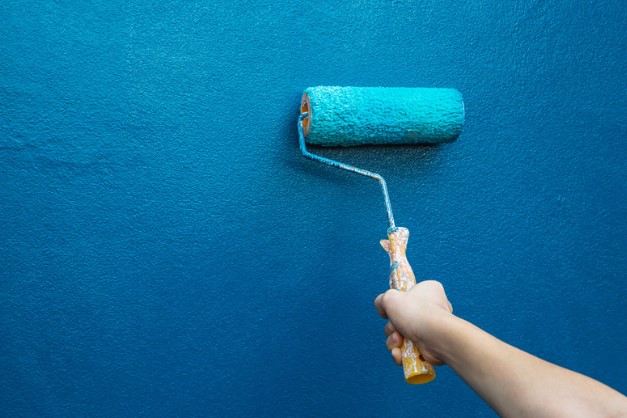
4. Learn to Nap Wisely
A roller cover with a thicker nap is preferable if your walls have a lot of texture, as this allow the nap to penetrate deeper into the nooks and crannies and provide more even covering. For painting on concrete walls, for instance, a heavy nap is the way to go. But drywall calls for a very low nap. If you choose a nap that’s too thick, you may end up creating texture in places you don't want it.
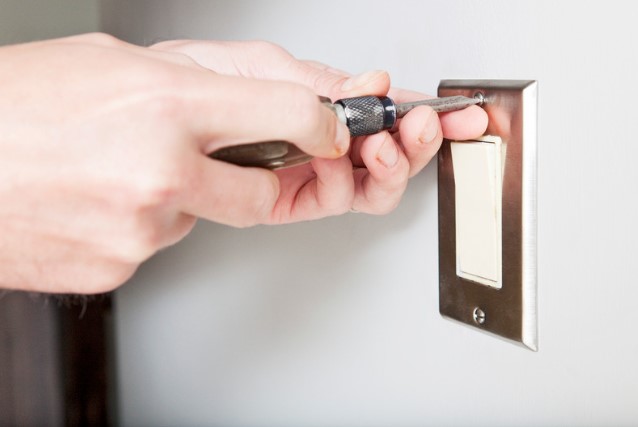
5. Take off the covers from the switches and plugs
If you're in a rush, it could be tempting to skip this five-minute process, but don’t. Ya'll thank me later.
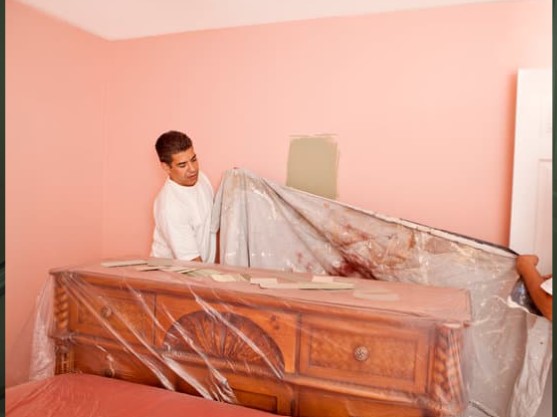
6. Prevent Any Painting From coming into Contact with Items You Want Left Alone
Covering flooring, furniture, and hardware before beginning a paint project is time well spent. Even covering cars in your driveway when painting exterior. Doorknobs can be easily protected by placing them in little plastic sandwich bags and taping the bags together.
7. Make Use of Primer
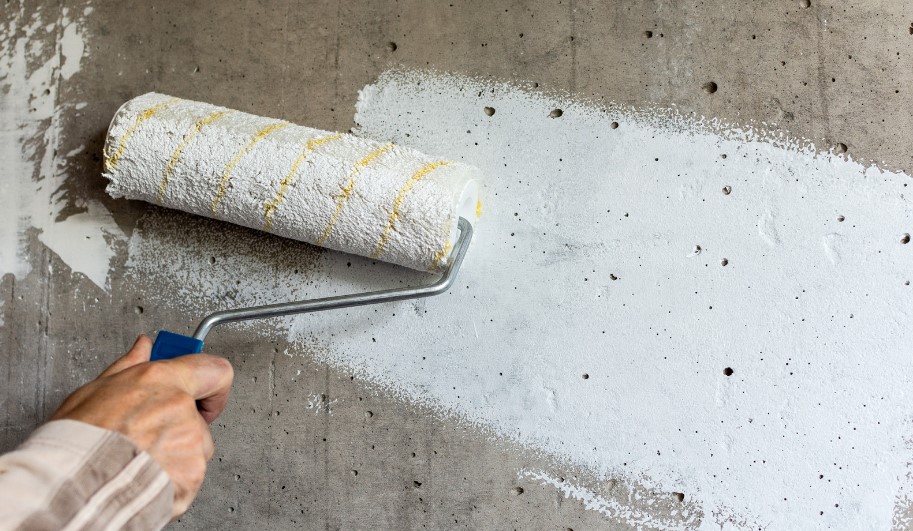
7. Make Use of Primer
When applying paint, a primer is not necessary if the surface is clean and smooth.
However, if the wall has any faults or it has been more than eight years since you last painted, you should shell out the extra money for a separate primer. Use a bonding primer like Benjamin Moore’s Insl-x Stix Waterborne Bonding Primer or KILZ Adhesion Interior & Exterior Bonding Primer if you need to paint over a particularly difficult surface (like glass or high-gloss paint). https://www.sherwin-williams.com/homeowners/products/extreme-block-interiorexterior-stain-blocking-waterbased-primer
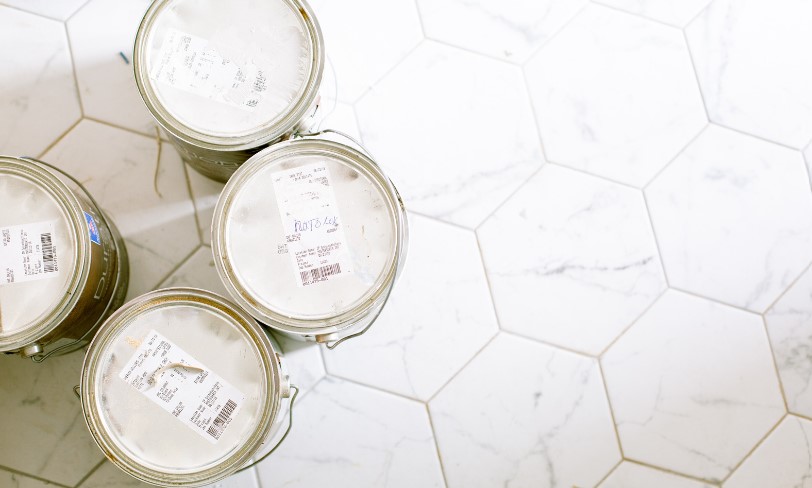
8. Purchase all your paint at once (box it)
If you want to save money by buying all the paint you’ll need at once, ask the paint store employee to help you determine an accurate estimate. Then, rather than working with individual gallons of paint, you may combine all the paint into one huge container and stir it completely. We call this method “boxing” the paint, and it ensures continuous color quality.
9. Allow the Roller to Do the Heavy Lifting
These days’ high-end paints are very low-tack, and you’ve already picked out a quality roller cover, so you won’t need to apply much pressure. To avoid bending over awkwardly or putting undue strain on your back, an extension pole is an essential tool.
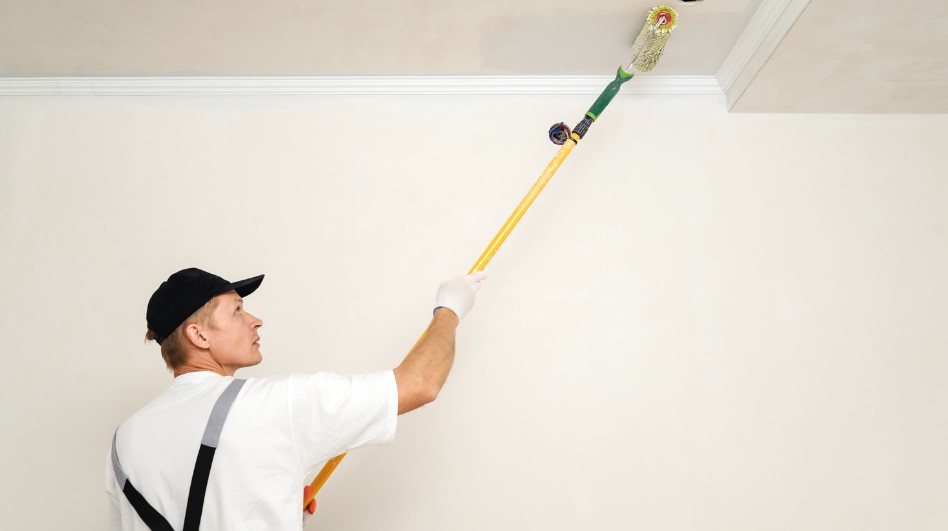
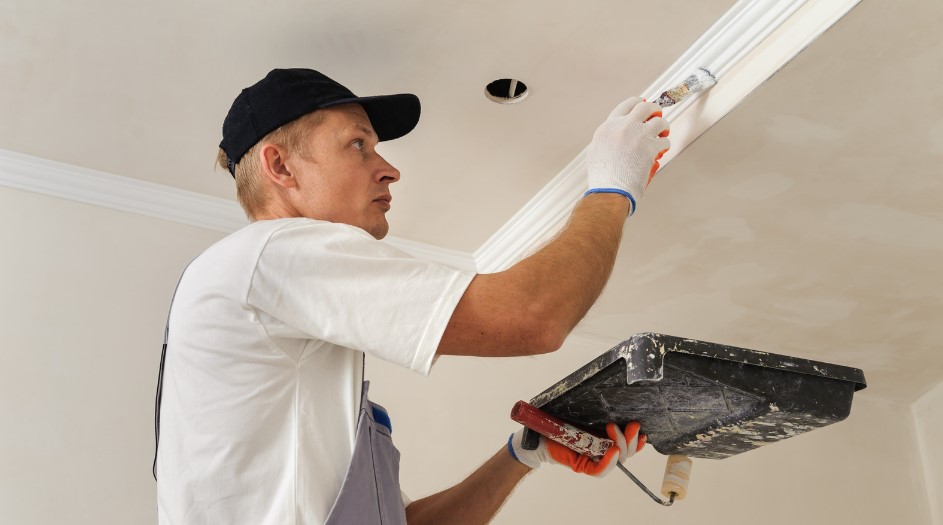
10. Paint from High to Low
Apply paint with a roller from the ceiling down, after first using a brush to cut in the edges at the ceiling and baseboard. Drips and spatters are unmistakable signs of an amateur paint job, but professionals cover them up as they go.
11. Let it dry
Once an area has begun to dry, it is preferable to leave it alone. Repeatedly going back over the same spot can leave visible smudges and splotches of color in the paint.
