10 Ways to Fix Holes in Drywall
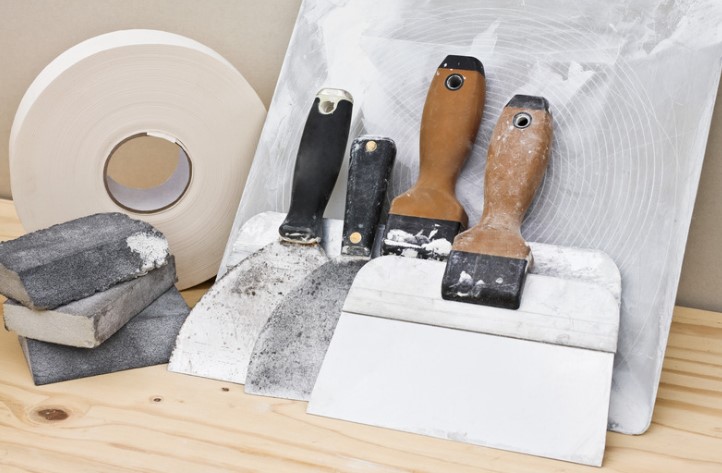
Before you can paint a wall, you have to get it ready, which means you have to patch it. This is a very important step. But sometimes you need more than a can of putty and a small putty knife to do a good job. Here are some tips and tools for patching walls that will help you finish the job faster, avoid problems, and get a wall that looks great. So here are 10 Ways to Fix Holes in Drywall
1. Before patching, cover exposed drywall paper with a sealant.
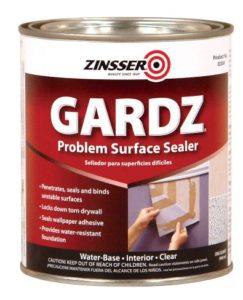
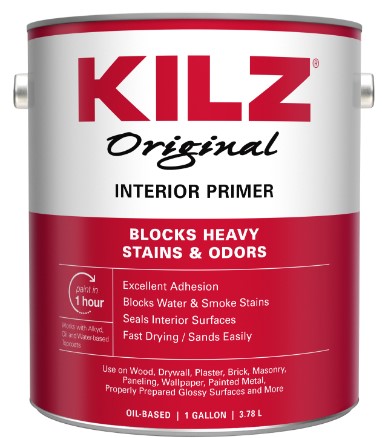
When removing outdated sticky or self-adhesive picture hangers, the top layer of drywall paper is sometimes torn off, exposing fuzzy brown paper. If you attempt to patch over this without first sealing it, the water in the patching substance will cause the paper to bubble and exacerbate the issue. The trick to repairing ripped drywall paper is to treat it with an oil- or shellac-based sealant before patching (KILZ Original and BIN are two brands).
2. Use Self-Priming Filler
Before painting, patches made with traditional materials need to be primed with a primer that seals. If not, the patched areas might show through as foggy spots when the paint job is done. But if you patch with a material that doesn't need a primer, you can skip this step. There are many brands; just look for the words "self-priming" or "with primer" on the container.
3. For big holes, use setting compound.
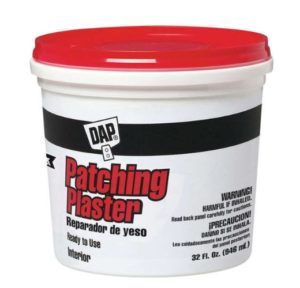
It's fine to use patching compound to fix screw holes and other small wall damage, but it's best to use a joint compound that sets up through a chemical reaction for drywall repairs the size of a dime or larger and for holes that are deep. You can get these in powder form, and they set in anywhere from 5 to 90 minutes.
4. Make a hole for the repair compound.
When you take out a nail, drywall anchor, or picture hanger, there is often a small ridge of old paint or drywall that is hard to cover with patching material. The answer is to make a dent over the hole and then fill the dent. Most good-quality putty knives have a rounded hard plastic or brass end on the handle that works great for making the dent. You could also use the round end of a screwdriver handle or the handle of a utility knife.
5. Use Repair Spray to cover up cracks
6. One Swipe Will Fill a Row of Holes
Most stress cracks are near where windows and doors go in and out. The cracks are caused by the frame shifting, and they are hard to fix in a permanent way. But using crack repair spray is a good way to at least make your fix last longer. The spray covers the crack with a flexible membrane that can stretch and relax as the building moves.
If the crack is open, first use patching compound to close it up. Then, cover the crack with the crack-repair spray by following the directions on the can. Let it dry, then paint over it to finish the fix. Crack repair spray can be bought at hardware stores, paint stores, or online.
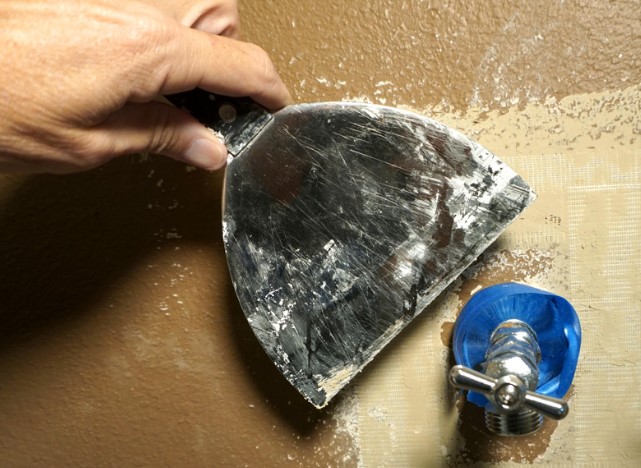
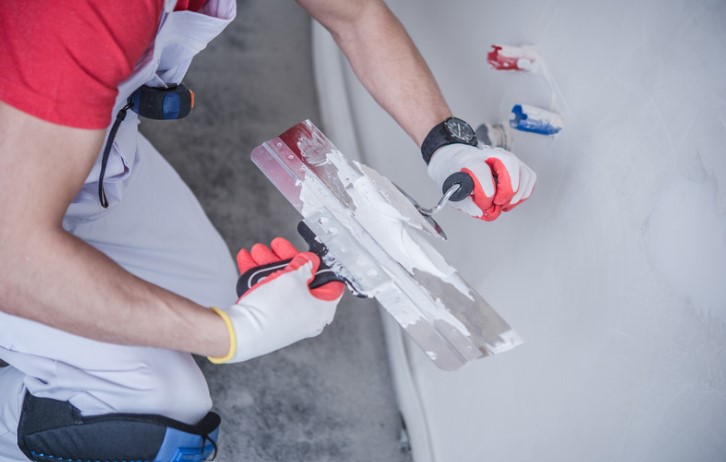
Professional drywall tapers always fill a row of screw holes with one long strip of joint compound instead of filling each hole individually. This method is faster and better at hiding the screw holes. It is also easier to sand the patch. You can sand the whole stripe instead of going around each hole.
Use this tip when you need to fill a row of holes that are close together and lined up, such as the holes left by a shelf standard or a row of pictures. Use a 6-inch-wide putty knife to spread the compound the way the two pictures show.
7. Areas with a lot of dents or holes should be skim-coated.
8. Before patching, seal any exposed dry wall paper.
9. Use Stick-On Patches for Holes of Medium Size
10. You Can Spray Texture on Walls
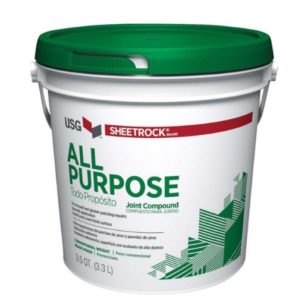
Don’t try to fill every single dent and hole in places where there are a lot of them, like the mudroom, where boots, hockey sticks, and golf club bags leave marks. Instead, get a wider taping knife, like a 6-inch-wide putty knife, and just skim joint compound over the whole area. Use “topping” or “all-purpose” joint compound for the best results.
To make the joint compound easier to spread, add a tablespoon or two of water to three or four cups of it. Then, pour a few cups into a drywall pan and spread it out with your 6-inch knife. A thin layer of joint compound was put on the area. Then scrape it off, leaving just enough to fill the cracks and holes. You might need to put on two or three thin layers to fill all the holes, but they dry quickly and are easy to apply. After the last coat is dry, sand the wall.
When removing outdated sticky or self-adhesive picture hangers, the top layer of drywall paper is sometimes torn off, exposing fuzzy brown paper. If you attempt to patch over this without first sealing it, the water in the patching substance will cause the paper to bubble and exacerbate the issue. The trick to repairing ripped drywall paper is to treat it with an oil- or shellac-based sealant before patching (KILZ Original and BIN are two brands). Both can be purchased at LOWES.
These are available in spray cans or as a liquid that can be applied with a brush. If you use a water-based product, you will likely experience the same bubbling issue. After the sealant has dried, carefully sand the surface to remove any hardened paper fluff. Then, as with any other wall repair, cover it with patching material.
There are several methods for repairing holes the size of doorknobs. But the fastest and easiest method is to use one of these mesh patches that stick on.
There are several sizes available at paint stores, hardware stores, and home centers. To apply the patch, just clean the wall surface and sand it to give it some “teeth.” Then, adhere the patch over the hole and apply two or three thin coats of joint compound. The procedure can be sped up by employing a setting-type compound for the initial coat.
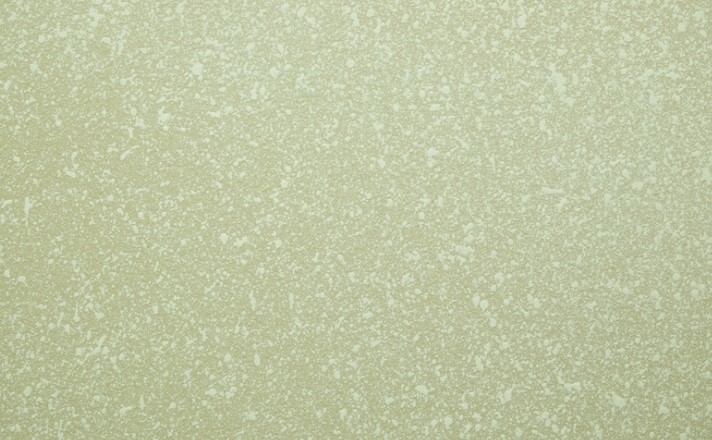
Orange peel texture on walls or ceilings is great for concealing flaws and providing visual interest, but it may be a real nuisance to repair a large area. You may get a spray-on orange peel patch that matches the texture of the patch without having to hire a professional. The patching substance is available in standard, quick-drying, and professional varieties. The pro version provides the most spray pattern control.
Before spraying the texture on the wall patch, you should perfect your technique by spraying it on a piece of drywall or cardboard. Before deciding if you need to change the nozzle for a coarser or finer texture, let the test piece to dry. Remember that you may always apply a second layer if there is insufficient texture after the first coat has dried.
For more information and tips on completing your painting needs https://leggettandsonspainting.com/blog/
